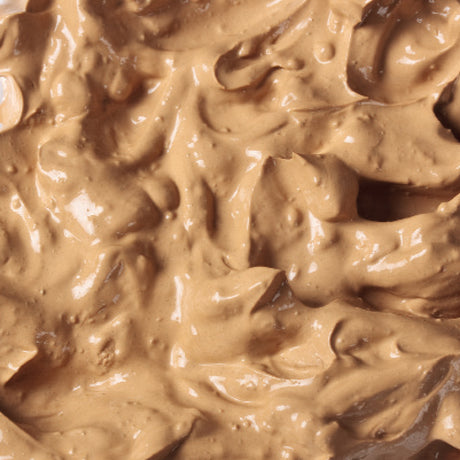
- 10kg
- Terracotta clay
- 16 mesh hand-building body
- Comes in a moisture-sealed bag
- Smooth enough for throwing
- Ideal for hand-building
- Suitable for modelling, sculpture busts, decorations, garden and outdoor ornaments
- Knead before use for best handling
- Bisque fire at 1000°C, or at 1100°C for a deeper orange tone
- Fire with an earthenware glaze to 1100ºC
- Not suitable for functional/domestic ware
- Ideal for school and classroom use
In the artroom, this terracotta clay supports a wide range of three-dimensional making activities. Students can create expressive sculptures, textured reliefs, or large-scale forms that reflect their understanding of form, texture and storytelling. Its firm body allows for structural builds, while its smoothness supports detail and surface decoration. Teachers can use it to introduce clay fundamentals, from pinch and coil methods to slab building and throwing. For best results, always knead the clay before use to soften and prepare it. A reliable and flexible material, Northcote Terracotta is an artroom favourite for sculpture-based units and outdoor installation projects.
Stages of Clay:
Stage 1 - Malleable: The stage where you can build artwork. Wrap leftover clay in a clean, damp cloth/wipe and put in an airtight plastic bag.
Stage 2 - Leather Hard: Clay has started to dry out but you can still carve into the artwork. This is also the stage to burnish pieces (smooth them out). Wrap leftover clay in a clean, damp cloth/wipe and put in an airtight plastic bag.
Stage 3 - Bone Dry: Bone dry means that the piece is fully dried out and it is ready to go in the kiln. It is best to slowly dry out the clay to prevent cracking, by lightly covering with plastic bags.
Stage 4 - Bisque Fired: This is the first firing. The clay can now be decorated with an underglaze or brush on glaze. Alternatively, bisque fired clay can be painted with acrylic paint or clay transfer Tissue can also be applied.
Stage 5 - Glaze Fired: This is the last firing and must be done at a higher temperature. Make sure there is no glaze on the bottom of your piece as it may join to the kiln shelf.
Storing and Handling Clay:
• Always store clay out of direct sunlight and heat.
• Avoid poking fingers through bag.
• Never carry the clay bag by the heat seal this could cause moisture to escape from the bag.
• Between uses, store clay in a well-sealed soft plastic bag i.e. plastic garbage bag. Squeeze the air out of the bag and tie it in a knot.
• A small amount of moisture can be splashed into the bag to keep clay moist.
• If clay becomes too firm, slice slab / lump into 1cm thick slabs (like bread slices) and dip each one into water before placing them in a stack in a plastic bag. Sit for 1-2 days, then knead into shape. This is the fastest and easiest way to recycle.
Earthenware Clay Helpful Tips:
Cutting Clay: Use a wire cutting tool to cut a piece of clay.
Flatten: Flatten the clay with your hand first and place between two wooden clay strips. The height of the wood will determine the thickness of the slab. Roll from end to end then turn over and repeat.
Marking the Clay: Use a pin tool to lightly draw into the clay. Mistakes can be smoothed over.
Cutting Shapes: Use a potter's knife to cut out a shape.
Creating Textures: Textures can be created by pushing objects into the clay.
Joining Clay Pieces: To adhere pieces of clay together, score both sides to be joined. Apply slip to both sides and gently press both pieces together. Run a modelling tool along the joining seam.
Slip: “Slip” is a liquid mix of clay and water, with a custard consistency, used for joining a decorating pottery. Keep in airtight container.
FAQ: .
Q: How many tennis balls of clay can you get from a 10kg pug of clay?
A: 30 tennis balls of clay. (Use a clay cutter for easy cutting).


