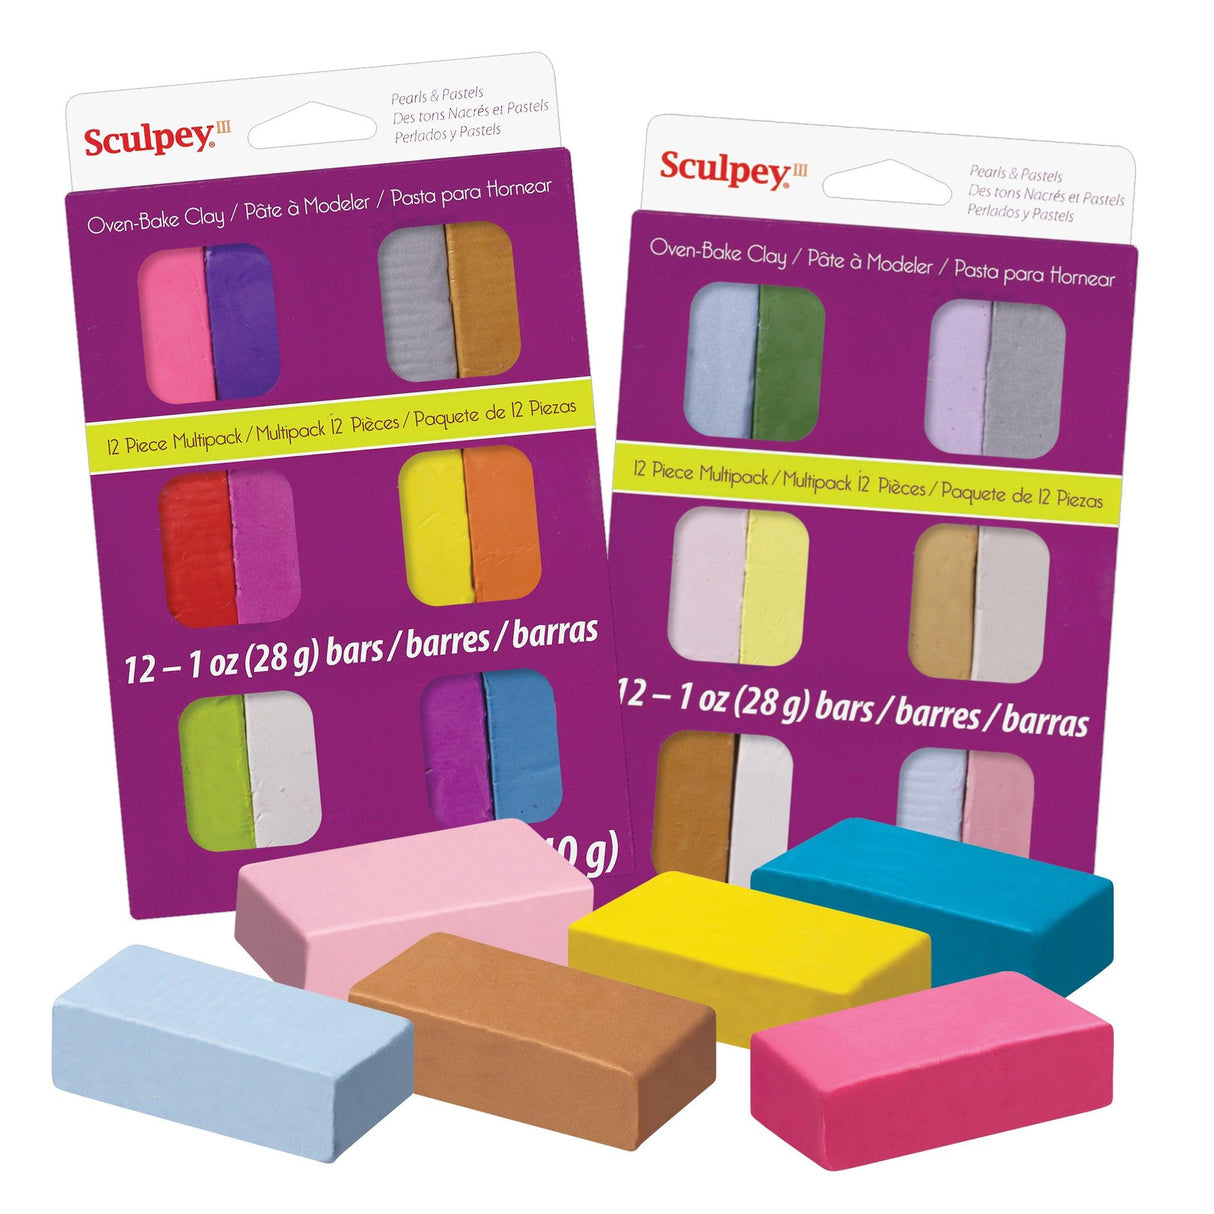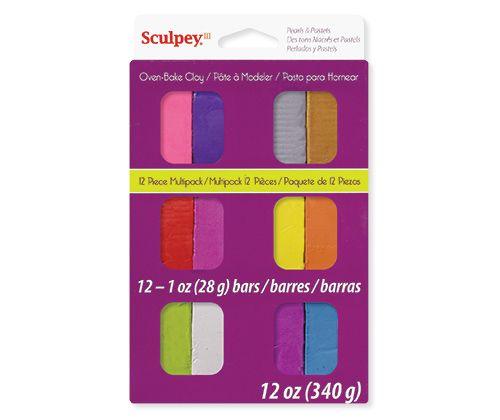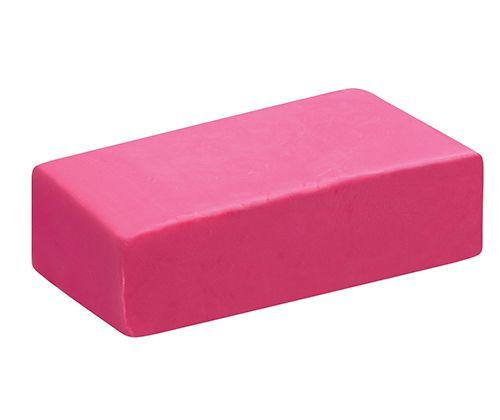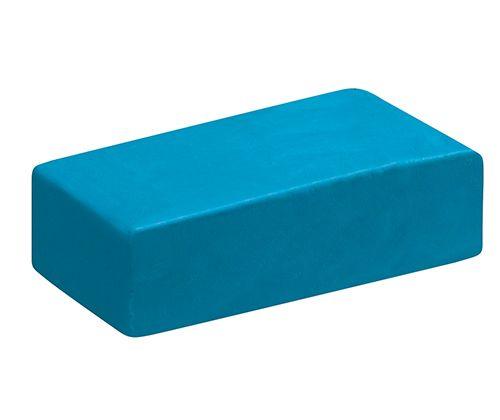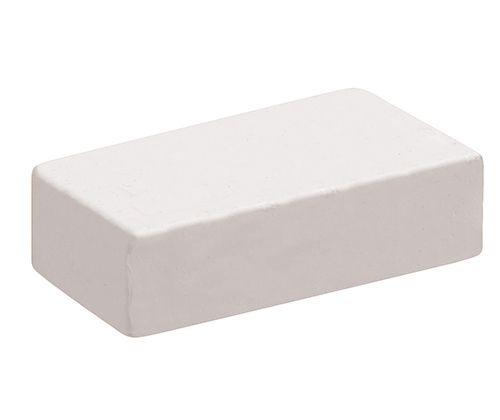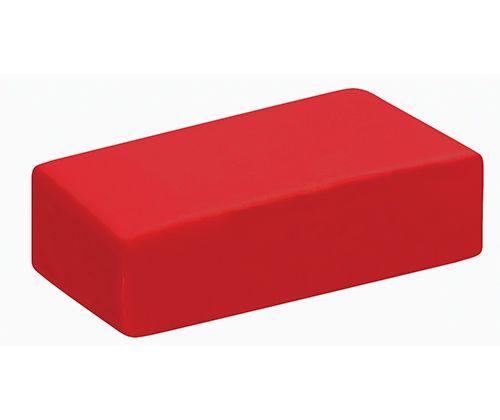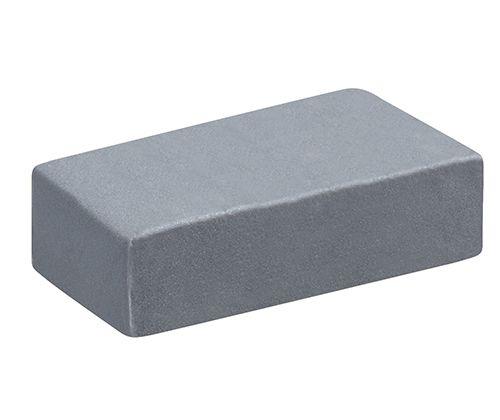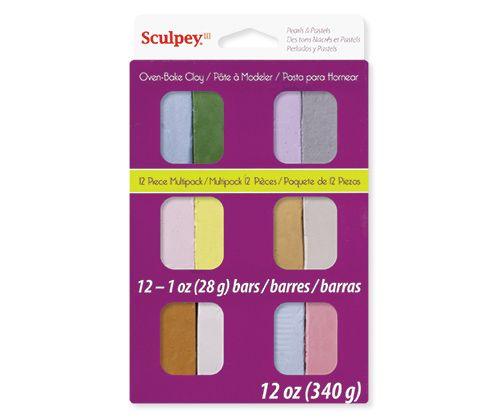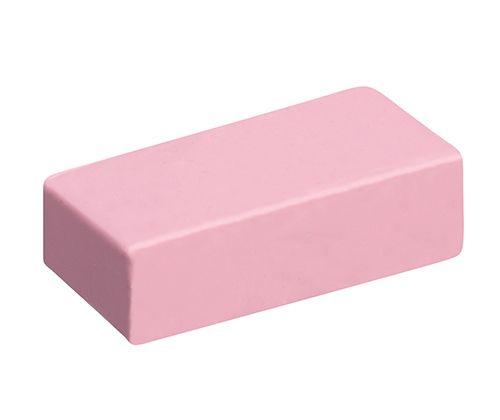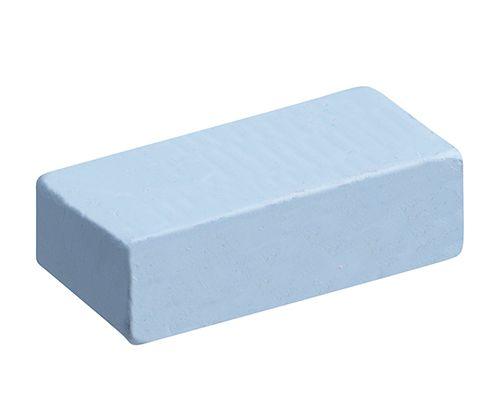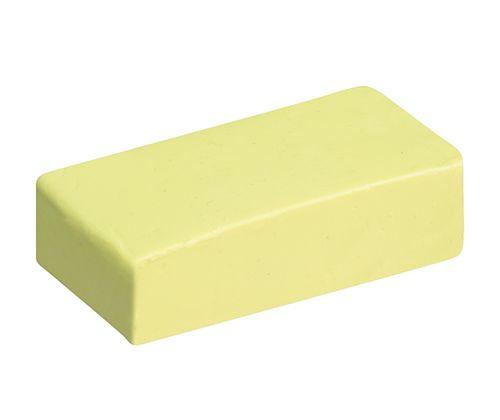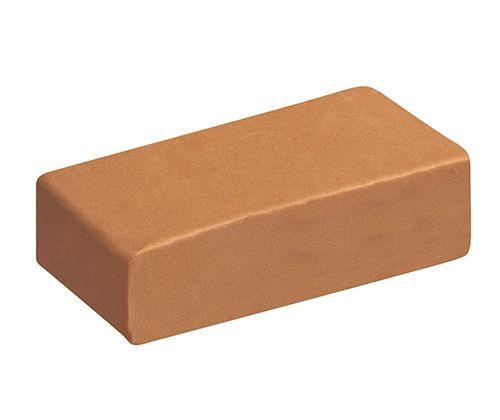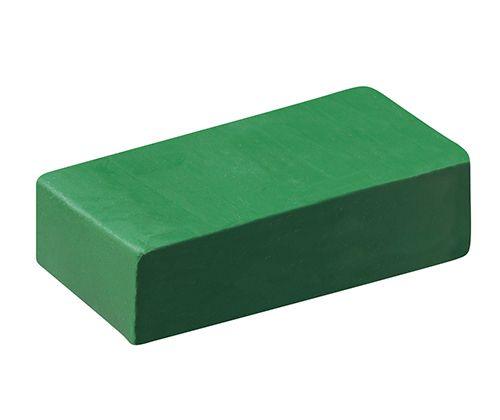
Sculpey III Polymer Clay Samplers Pack of 12
Rich Coloured Oven-Bake Polymer for Endless Creativity
The Sculpey III Polymer Clay Sampler Pack of 12 is a fantastic way to explore a variety of rich, blendable colours, making it perfect for classroom projects and creative experimentation. This high-quality, oven-bake polymer clay is easy to shape, blend, and sculpt, offering smooth handling and a soft, pliable texture. Once baked, it hardens to a durable finish, making it ideal for jewellery making, figurines, and decorative crafts. Each pack contains 340g of clay across 12 unique colours, allowing for endless creative possibilities.
Sculpey III Polymer Clay Samplers Pack of 12 - Brights is out of stock. Estimated arrival November 27, 2025.
Couldn't load pickup availability
Jewellery Techniques
-

-

Polymer clay jewellery:
-

Soft Wire jewellery:
-

Silicone jewellery moulds:
-

Jump rings:
-

Shrink-me Plastic:
-

Beads:
-

Flat wire with resin:
-

Pendant settings:
-

Wooden earring drops:
-
Catalogue Page Number

