


1
of
9
Loading...
School White Clay 10kg (Clayworks)
$3141 (inc GST)
Unit price (inc GST)
/
Sold out
$2855 (ex GST)
Unit price (inc GST)
/
Sold out
Tax included, shipping and discounts calculated at checkout.
Smooth, Soft and Classroom-Ready for Creative Claywork
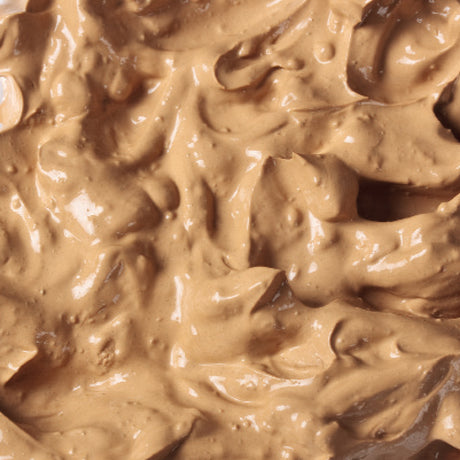
Clayworks School Clay White 10kg is a soft, plastic, ready-to-use clay ideal for students of all ages. Supplied in a moisture-sealed bag, this white-to-buff coloured clay is easy to handle straight from the pack and perfect for classroom settings. With a 60-mesh body and just the right amount of tooth, it’s well suited for hand building, modelling, and wheel throwing, while remaining gentle on hands. Its broad firing range (1000- 1100°C) gives flexibility for firing outcomes, making it a great choice for general art and ceramics programs. Made in Australia, this clay offers a quality and consistent experience for school use.
Northcote Pottery | SKU:
ML107-WH
School White Clay 10kg (Clayworks) is out of stock.
Couldn't load pickup availability
The Stages of Clay
-

-
Stage 1
-
Stage 2
-
Stage 3
-
Stage 4
-
Stage 5


-
Catalogue Page Number