FREE Teacher Planner - All Online Orders Over $499

Super Paint Sale - All 500ml is $4.99 Shop Now

Black Friday - Earn Triple Zart Rewards Points on Every Online Purchase.

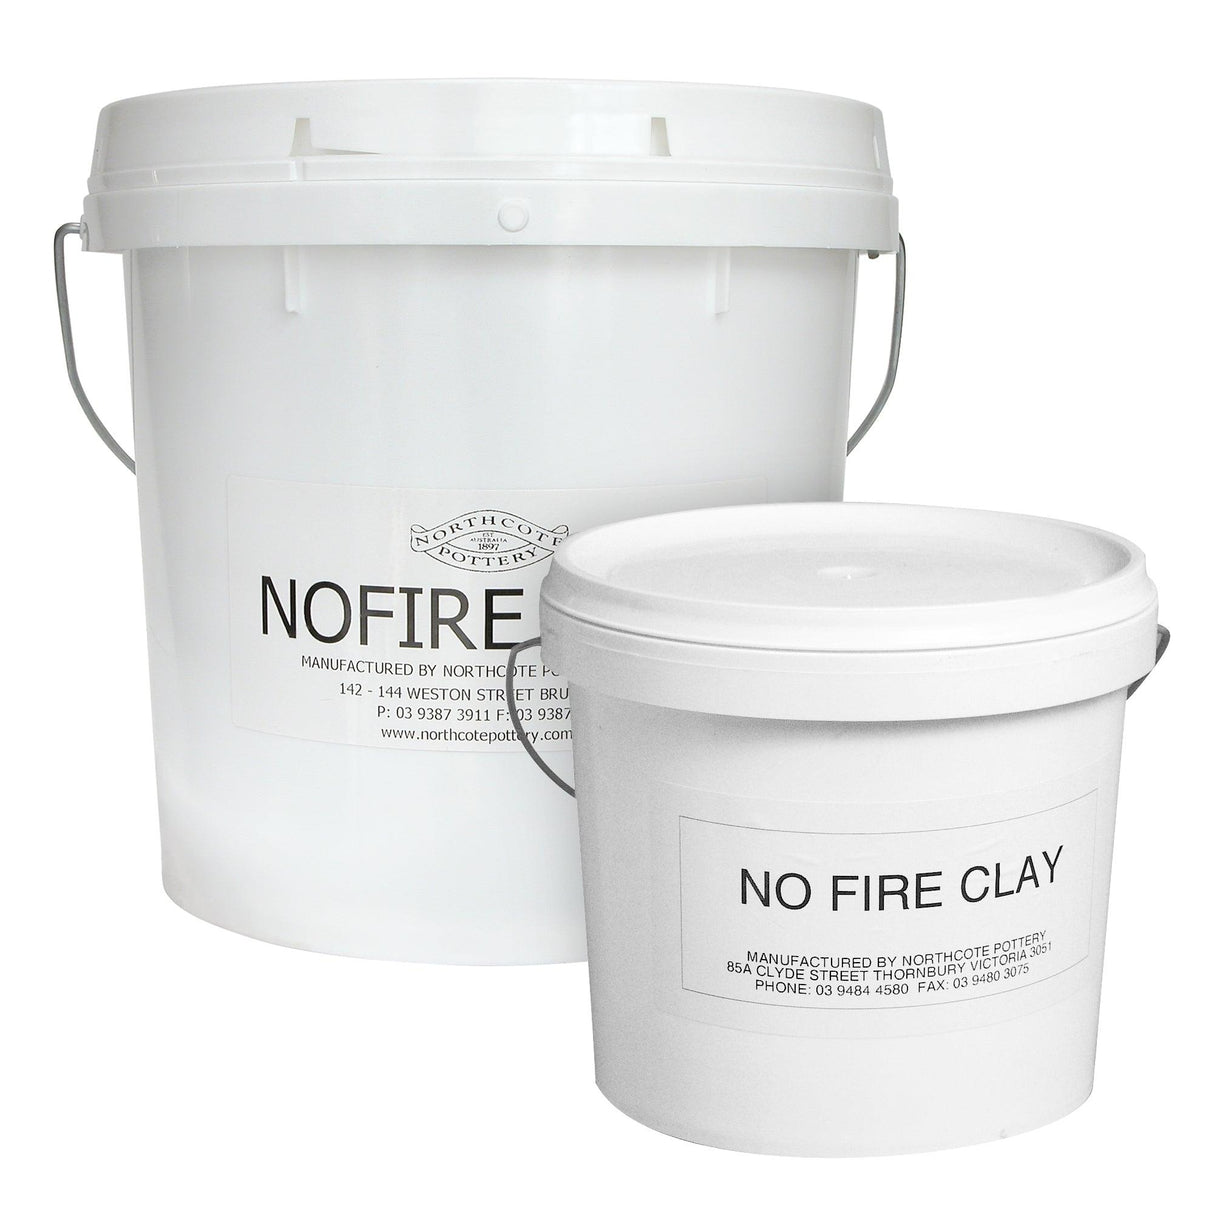
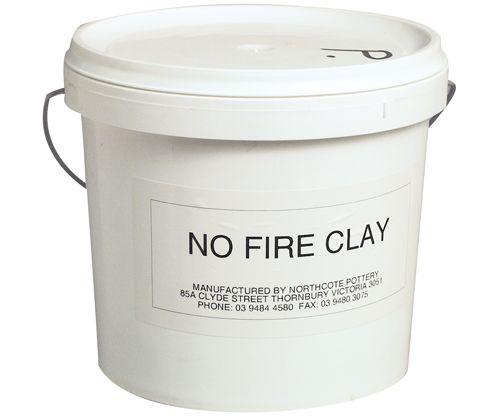
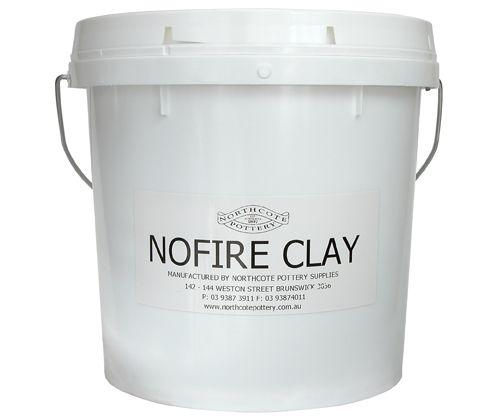
No Fire Clay (Sunclay)

$5095 AUD (ex GST)
$5605 AUD (inc GST)
Taxes, discounts and shipping calculated at checkout.

Earn [points_amount] when you buy this item.


No Fire Clay (or Sunclay) is a soft and pliable modelling clay which air dries, it is non toxic, made from natural materials and manipulates as a natural clay with water and tools. As with clay, the No Fire Clay must be worked with water, keeping the clay moist. The easiest and cleanest way to do this is to have pieces of foam rubber saturated with water on the work table. If the clay shows any signs of cracking when being worked, just moisten fingers and work the moisture back into the clay. To join clay shapes together, each surface of the clay must be scored, wiped with slip (clay and water paste with a drop of PVA), pressed and the edges smoothed together with a modelling tool. A small coil of clay needs to be added into crevices or cracks caused by joining these shapes. No Fire Clay will keep in the plastic airtight bucket it is packed in, make sure the lid is securely replaced when not in use. A quick tap around the rim of the lid with a hammer does the job. Place the used No Fire Clay in an empty airtight container, not back with the unused No Fire Clay.

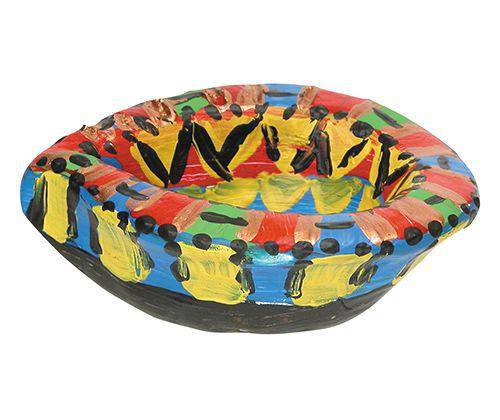
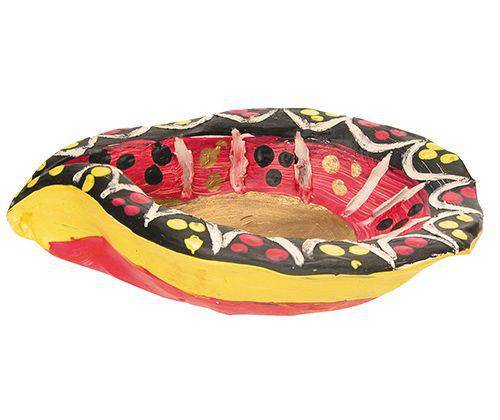
It will take approximately one week to ten days to dry in room temperature. When dry it can be painted with Chromacryl or Vipond.

No Fire Clay is ideal for schools without a kiln, but I do suggest that normal clay is used first to teach the skills of clay modelling and that the No Fire Clay is used for the end product only.

No Fire clay has a soft, smooth consistency which makes it easy to handle and simple to use.
The clay bonds to itself with a little pressure, making very little effort of joining.

Northcote Pottery  |  SKU: MLZ711
Size

Additional Information

No Fire clay can be used in a variety of ways: It can be rolled, squeezed, twisted, coiled, stretched, scratched, pinched, moulded, stamped, scored, cut, scraped and pressed to make a wide variety of projects.


Break off the required amount from the block and begin your project.


Roll it into a slab and cut shapes from it. By rolling the No Fire clay onto a textured surface such as heavy netting or hessian, your work will have an interesting surface detail on which to work. Use a variety of tools to make patterns and marks in your shape. Use a skewer or satay stick to make a hole through the clay and the shapes can be hung when painted.


Roll thin coils from the No Fire clay and use them to build up a shape. To make a bowl, cut a circle or similar from a rolled out slab of No Fire clay and press the coils around the outside edge of the shape, building up the sides of your pot as you go. Use a flat tool to smooth over the coils on the inside of the shape.


Once you have completed building up the shape, more texture and pattern can be added by making shapes and attaching them to the pot or by using tools to scratch or mark the No Fire clay with patterns.


No Fire clay can be moulded into a smooth ball in your hands. To make a pinch pot, the ball should be small enough to fit into one hand comfortably. Use one hand to hold the ball and press your thumb into its centre. Begin to hollow out the ball by gently pinching the clay and rotating the ball as you go. Ensure that the walls are smooth and uniform in thickness. The opening of the pot can be squeezed inwards to make it smaller, or pinched outwards to make it larger. A lid can be made in a similar fashion from a smaller ball of No Fire clay.


No Fire clay can be hand built to make a range of models such as dragons, dinosaurs, cats, birds etc. Simply make the basic shapes of the animal and join them together, adding texture and detail with a variety of tools.


No Fire clay is easily painted when dry.


Air Drying Clay: Joining Techniques


Option 1: Score each surface of the pieces to be joined together. Press firmly together.


Option 2: Smooth together surfaces that are to be joined, this can also be done by adding a coil.

Specifications (MLZ711)

  • Catalogue Page Number
    231