FREE Teacher Planner - All Online Orders Over $499

Super Paint Sale - All 500ml is $4.99 Shop Now

Black Friday - Earn Triple Zart Rewards Points on Every Online Purchase.

Dry Felting Kit Set of 10

$3995 AUD (ex GST)
$4395 AUD (inc GST)
Taxes, discounts and shipping calculated at checkout.

Earn [points_amount] when you buy this item.


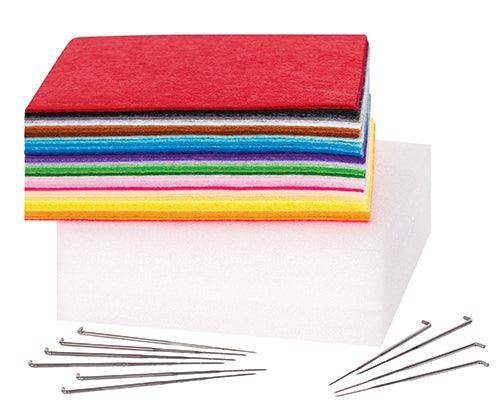
This Dry Felting Starter Set of 10 offers the perfect convenience for classrooms and art rooms, as it includes your dry felting essentials – just add the wool tops! This set is enough to get 10 students started in dry felting. And best of all it can be reused – you only need to restock on the felt squares and wool tops – saving time and money!

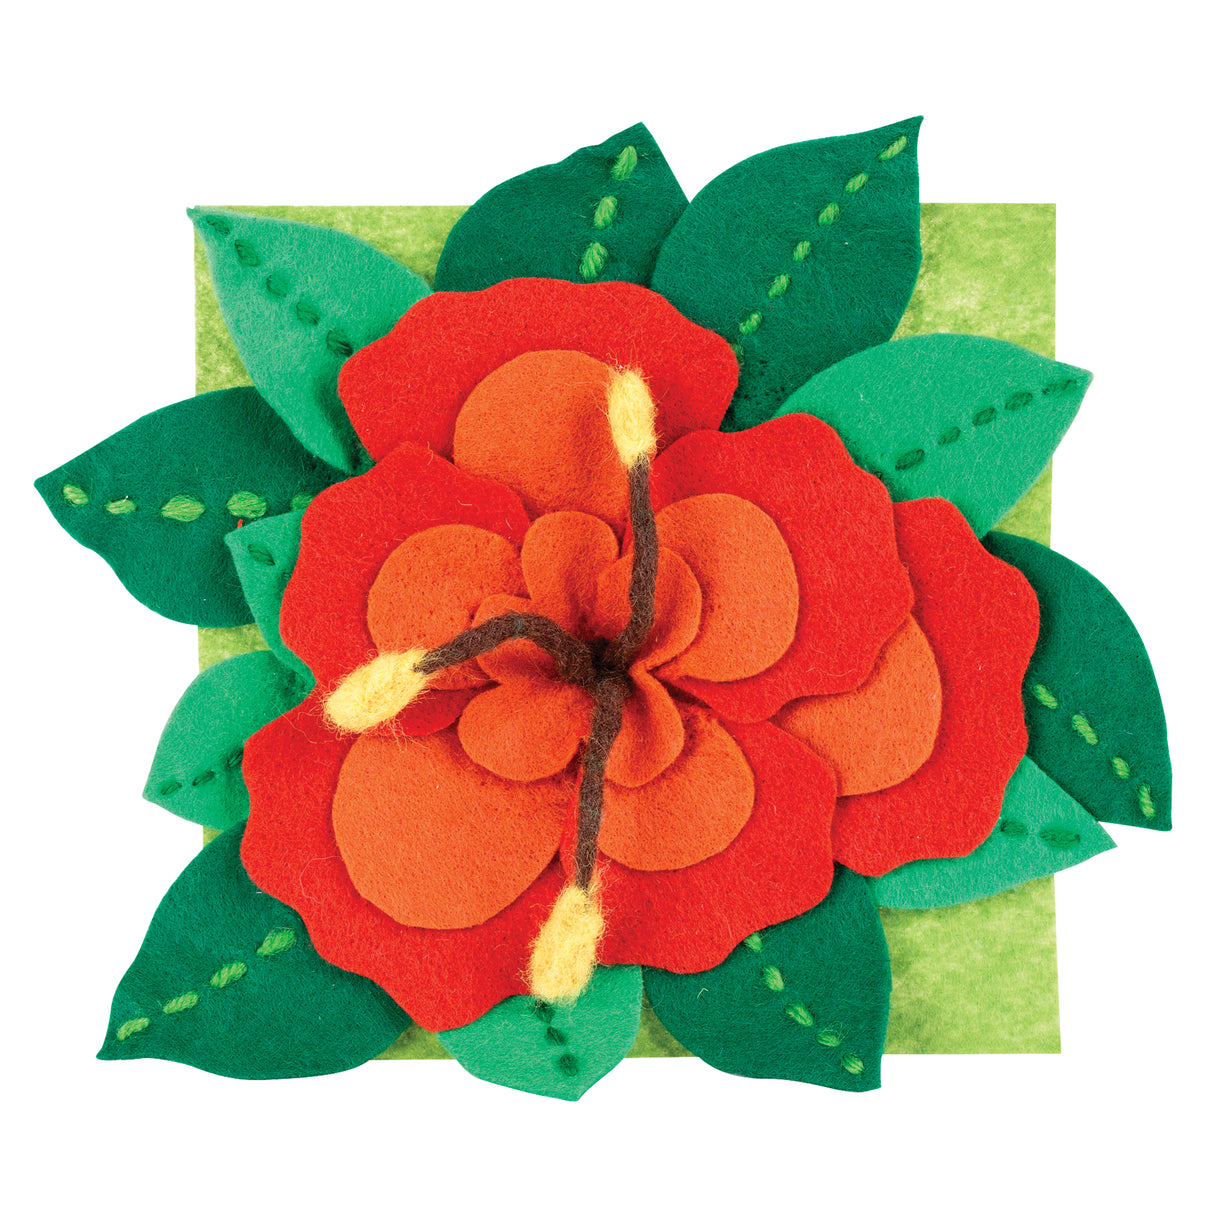
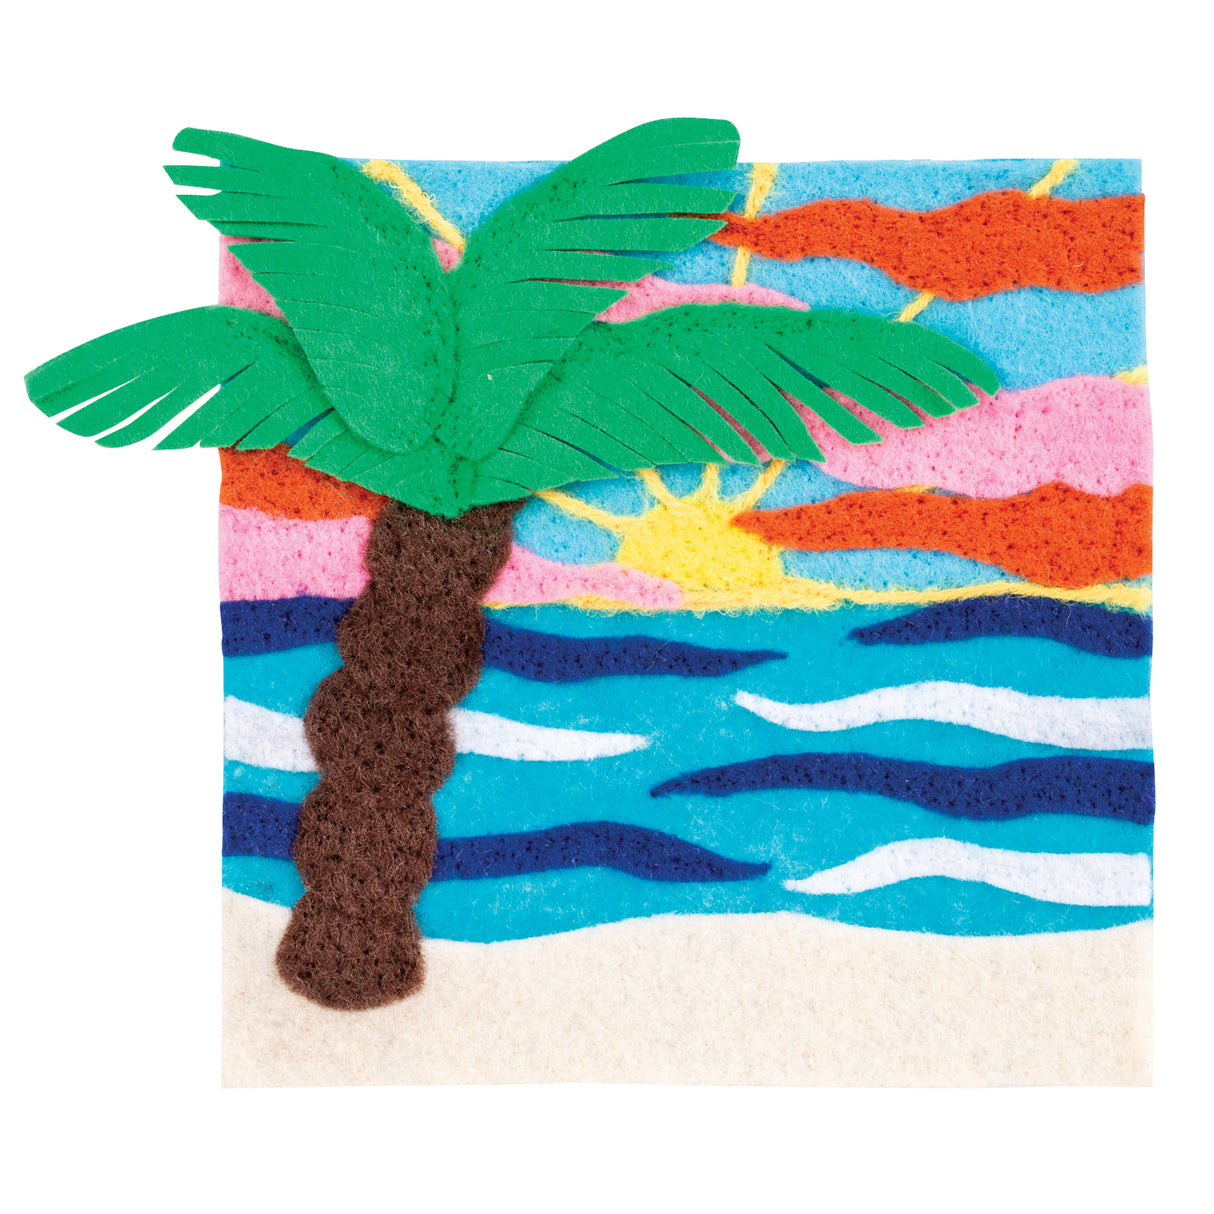
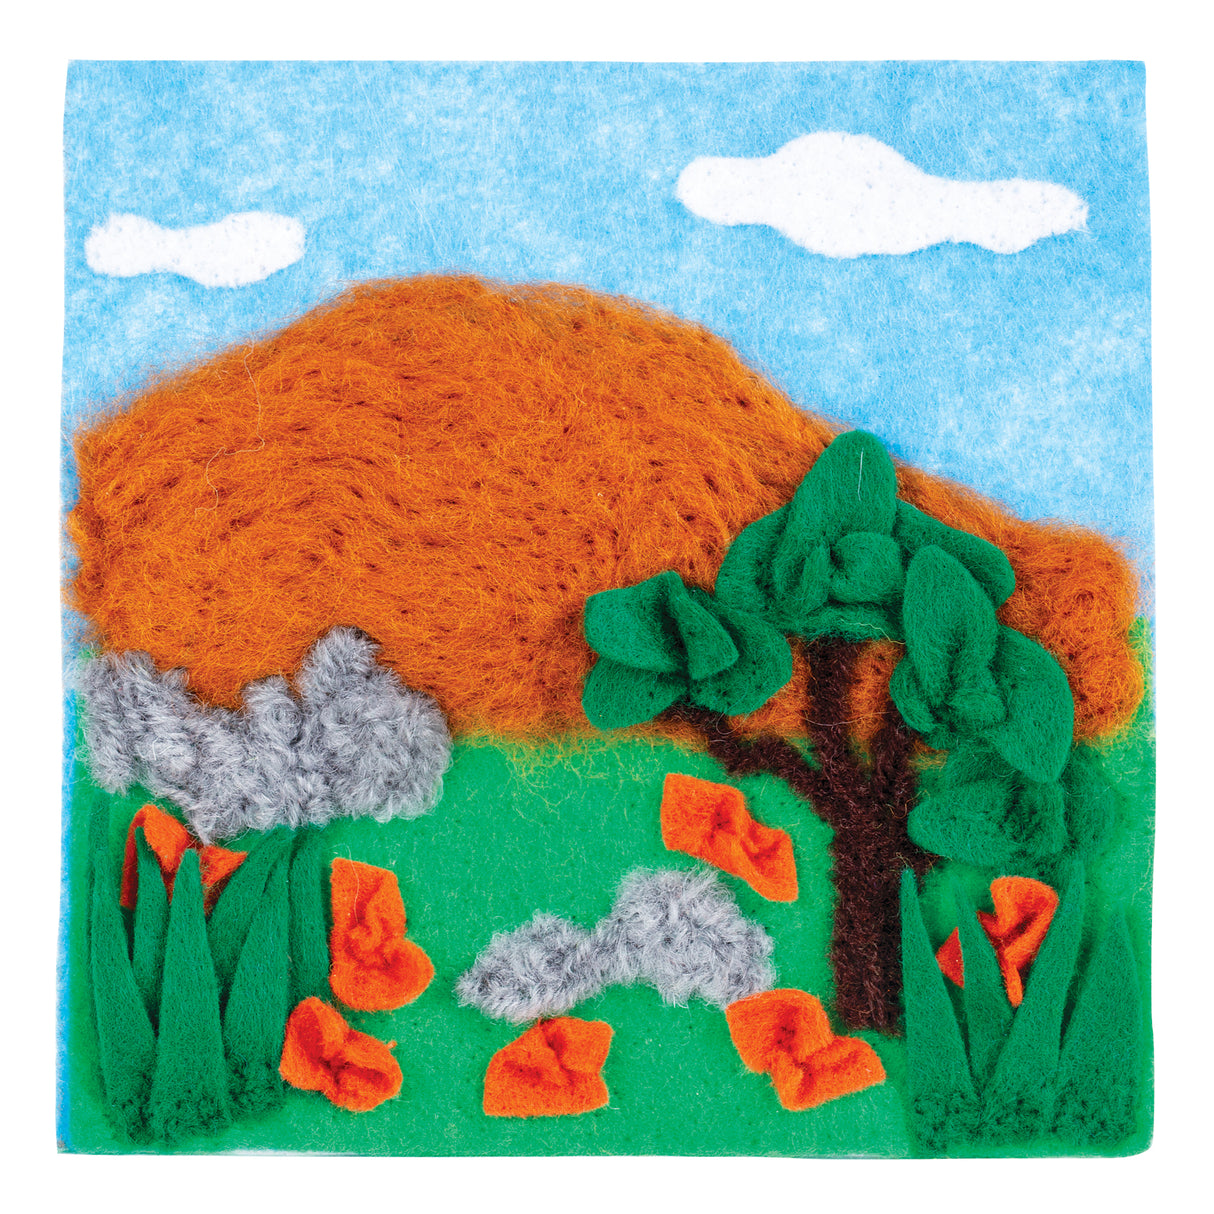
Create a design by laying wool top pieces on the included felt base. Repeatedly poke the barbed dry felting needle through the wool design and base to interlace and fix the fibres in place. Always use the felting needle in an upright position and work on the included felting foam pad to prevent accidental pricking.

Zart  |  SKU: FEZ911

Key Features

This kit includes:

• 10 x Dry Felt Needles: Medium thickness, Length 8.6cm
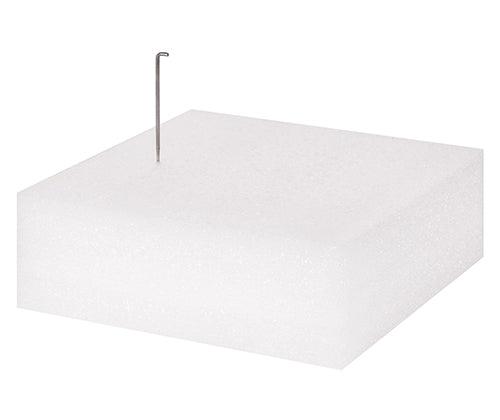
• 10 x Felting Foam Block: High density felting foam, Width 15cm x Length 15cm x Height 5cm
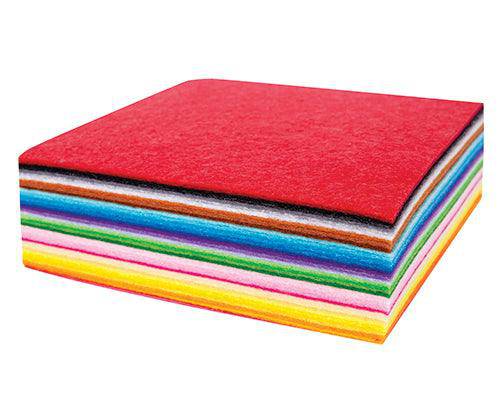
• 30 x Acrylic Felt Square Pieces 14 x 14cm suitable for 2D dry felting, assorted colours (colours may vary).
Wool Tops NOT included

Additional Information

How to Dry felt:
Step 1: Place a felt square sheet on top of the high-density felting foam.

Step 2: Pull apart some Merino wool tops or crafting combed (not included). NB: To pull the wool tops apart, hold hands approximately 20cm apart and gently pull wool. The ends should be wispy.

Step 3: Place the wool on the felt square sheet and firmly direct the dry felting needle all the way through to the felting foam. NB: Work needle upright not slanted to avoid breakage. Instruct students on the correct way to use these needles to prevent bending and breaking. Keep your fingers out of the path of the felting needle!

Step 4: Move the wool in the direction you would like the dry felting to follow, using quick pricks of the needle to fix and felt wool in place. Lift felt square from felting foam base every so often to loosen it.

Step 5: Continue to fill and create the design, introducing new colours as you wish, layering and blending them as you go.

Step 6: Once your dry felting is complete you can display the artwork.


BY ZART promises quality and value – with a point of difference! We pride ourselves on offering you an innovative mix of products so that you can focus on the creating and making. All our products are rigorously tested to ensure they meet your standards as well as our own.

Specifications (FEZ911)

  • Catalogue Page Number
    275